Curved Origami Spring

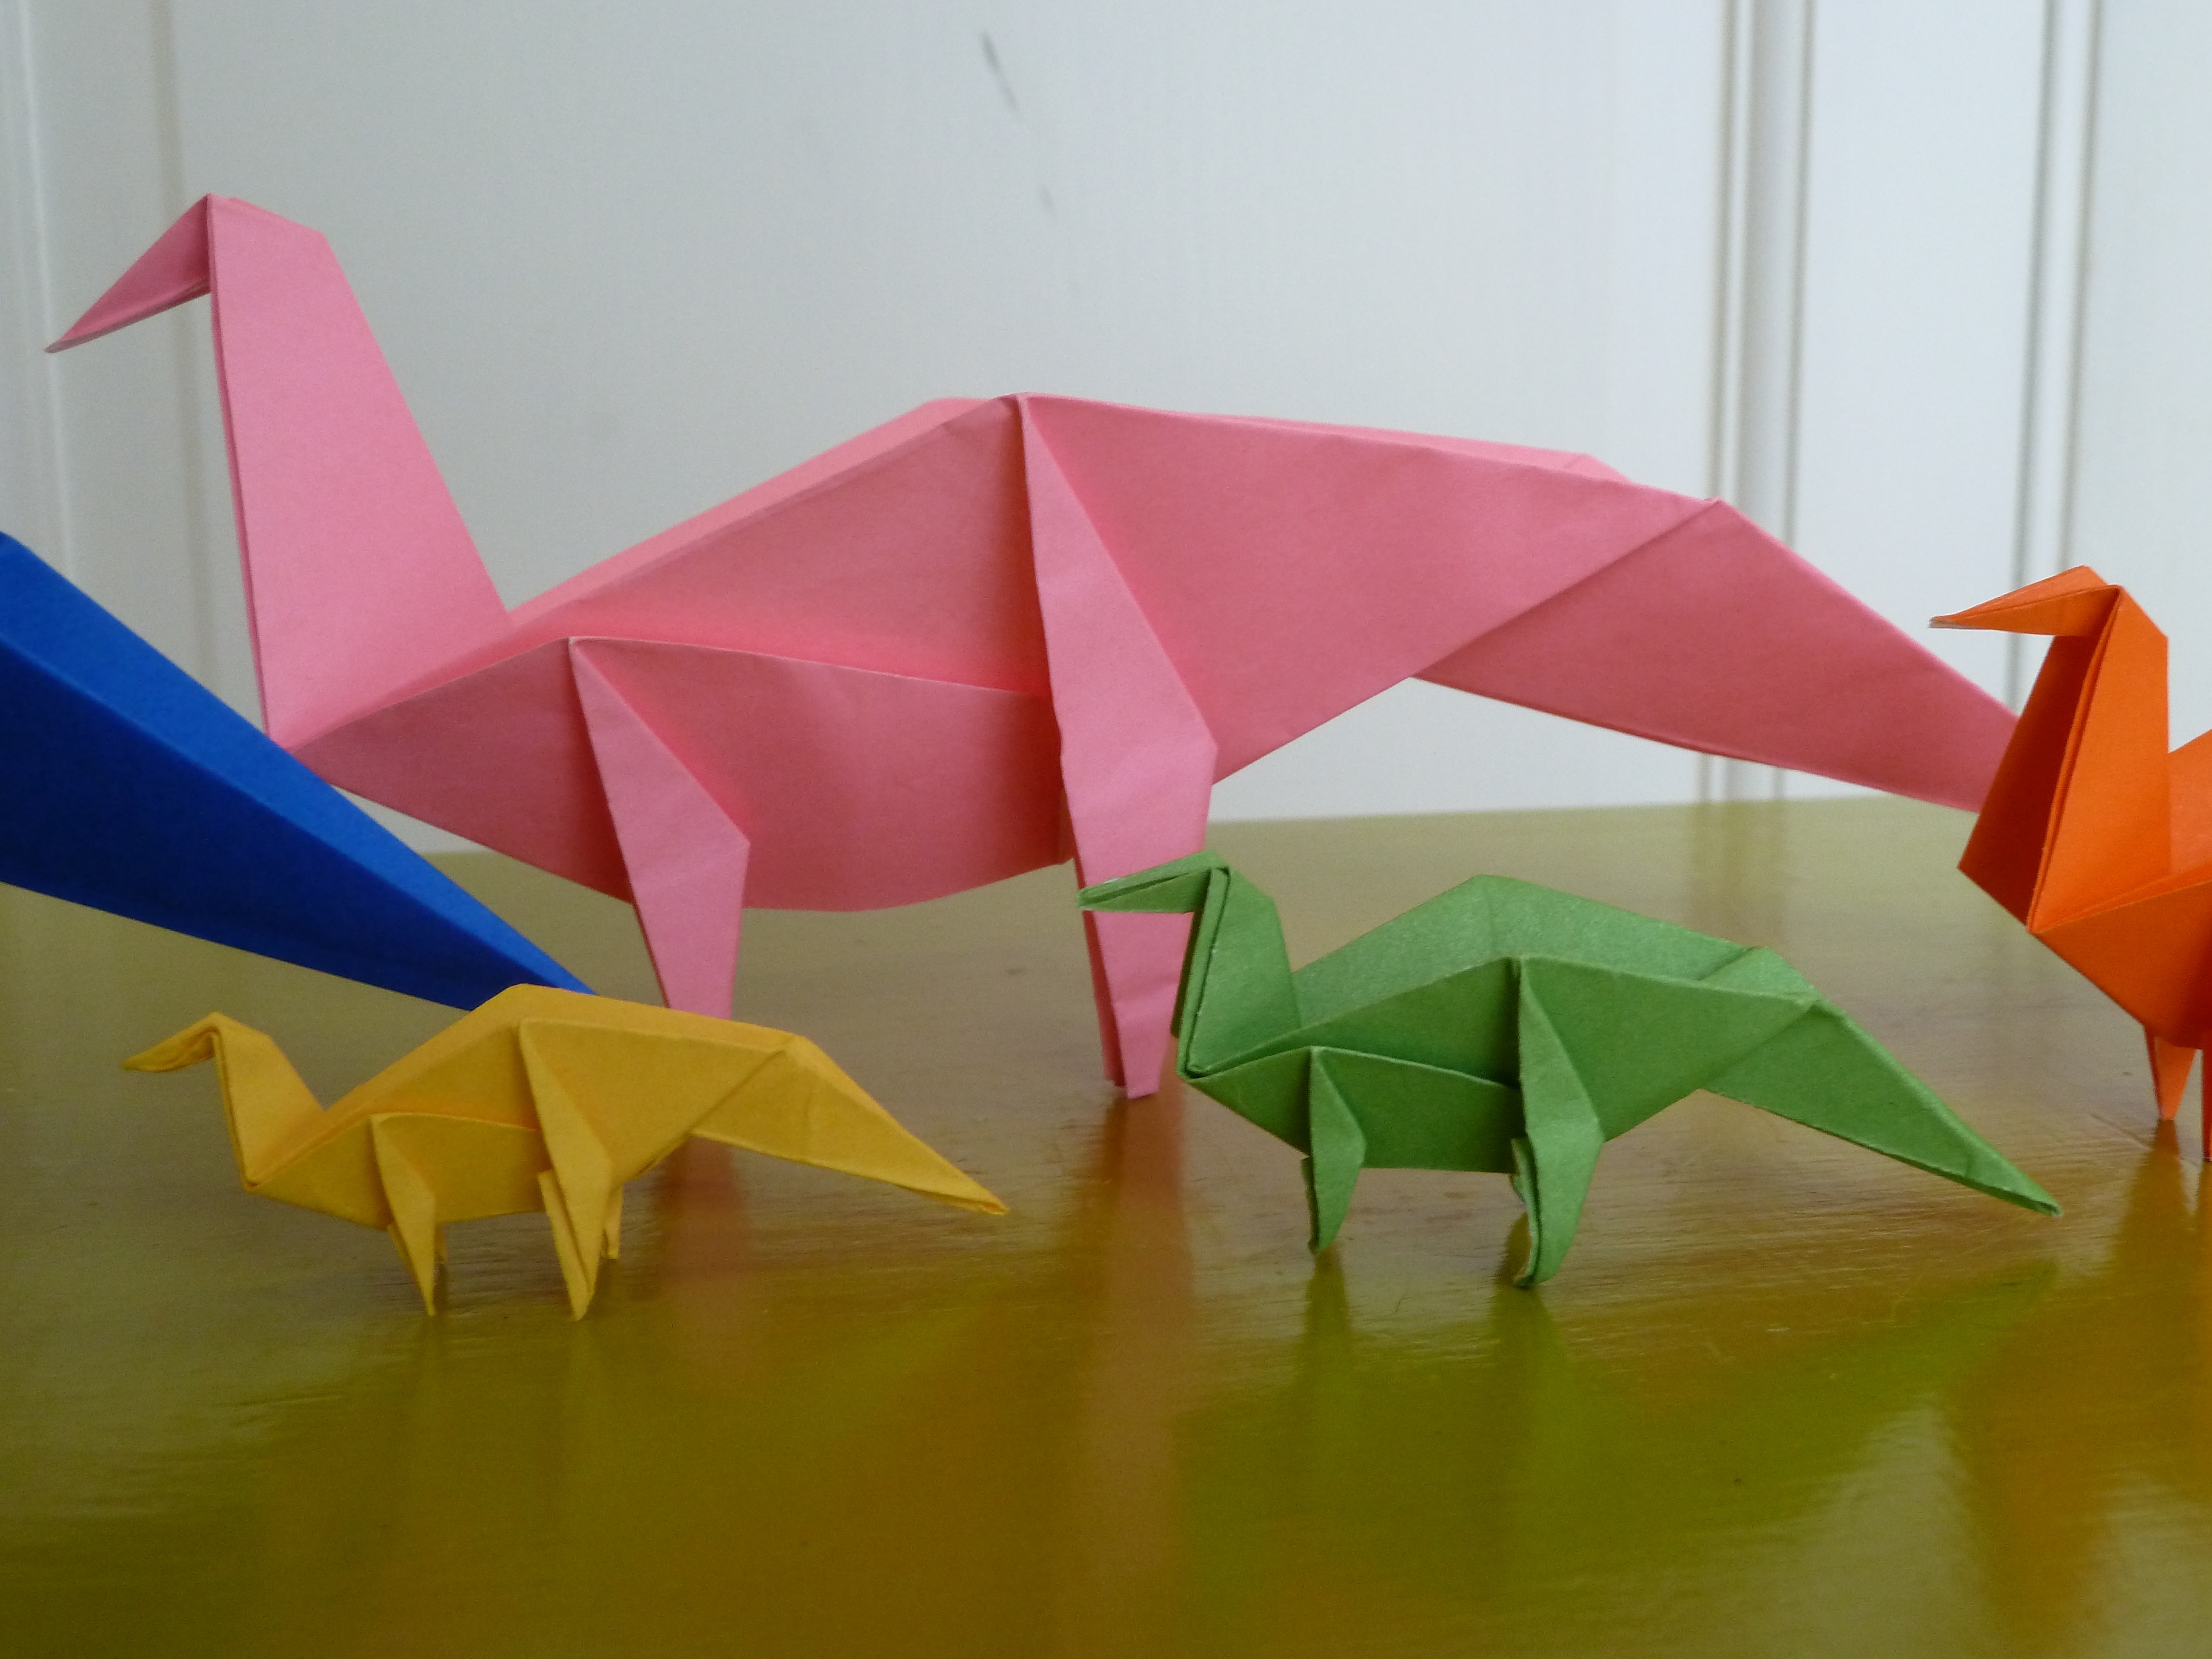
I adapted Jeff Beynon’s origami “Spring Into Action” to curve, as shown. Normally, the spring would be straight when it is folded and deployed, but in my version I weakened one side so the paper would exert more force from the other side, making it curve. This could potentially have some engineering applications; it could be useful whenever a curved object capable of being stretched out to be straight is needed. Also, it flattens into a very compact disk, so it would be easy to transport.

There is some mathematics involved in this design, as described in my other post, below this one, about straight origami springs. To weaken one side, I kept the angle theta so it would fit an eight sided spring, but I reduced the number of columns (the value n) so there wasn’t the normal extra paper in the place where the crack occurs, which weakens it.

Folded and designed by Sophie Usherwood

Origami Springs

p1040634.jpg

Here are five origami springs, each folded from one piece of paper. I folded three of them, the purple one, the red one, and the darker blue one (someone I know folded the other two). They use Jeff Beynon’s design of an origami spring, but I adapted them to have a different number of sides. I was fortunate enough to be given to opportunity to work on a research paper about the geometrical properties of this spring structure, so I was able to examine the mathematical properties of these springs.

Here’s the basics of what I learned; the “standard” origami spring tutorial on youtube (the link is pasted here for anyone who wants to try folding it) is 12 sided, but you can change the number of sides (the value “n”) by changing the angle formed by the diagonal creases and the horizontal edge of the paper (the crease pattern demonstrating this is below). The angle theta is determined by pi/n (in radians), and if the angle is incorrect, then the edges won’t line up after you collapse the paper into the spring’s final shape.

Using trigonometry, I calculated the paper size to have four layers in each spring, and to have the desired number of sides (if you hover the mouse over the pictures I written how many sides there are). Because there is no tutorial of how to fold spring with different numbers of sides, I relied on my mathematical knowledge alone when I was folding the springs. I first folded the paper so it had all the perpendicular creases and all the diagonals, using what I had calculated, and then I collapsed the model by twisting each layer. This was quite difficult at times if the diagonals weren’t accurate, because in order to twist and collapse the model, every single crease has to be facing the correct direction (and paper can bend in different directions). It was very gratifying to see the final result after collapsing them! You can flatten them so they are two dimensional, or you can also pull the ends (deploy them) and stretch them out, as shown in the pictures above.

Folded by Sophie Usherwood

Designed by Jeff Beynon

Hibiscus Sculpture

unnamed

Here’s a hibiscus sculpture I came up with, made out of clay, and glazed. At the bottom is a pinch pot base, and sculpted leaves are curved around the cylinder made from a slab. On top of the cylinder is a sculpted flower with long overhanging pink petals. Crimson balls in groups of three cling to the large pink petals, and yellow “streaks” erupt from the top.

While I was creating this, I was trying to figure out a way to have sophisticated appeal with the flower at the top, and make it seem like light was pouring out. I also hoped to make a long, simple stem with a couple elegant textured leaves. The end result of the sculpture was exciting, especially how the crimson balls on the petals added a touch of potency. In hindsight, I could have made the “cylinder” (the stem) even longer. Other than that, I am very pleased with the result!

Sun, Moon, and Stars

P1040164

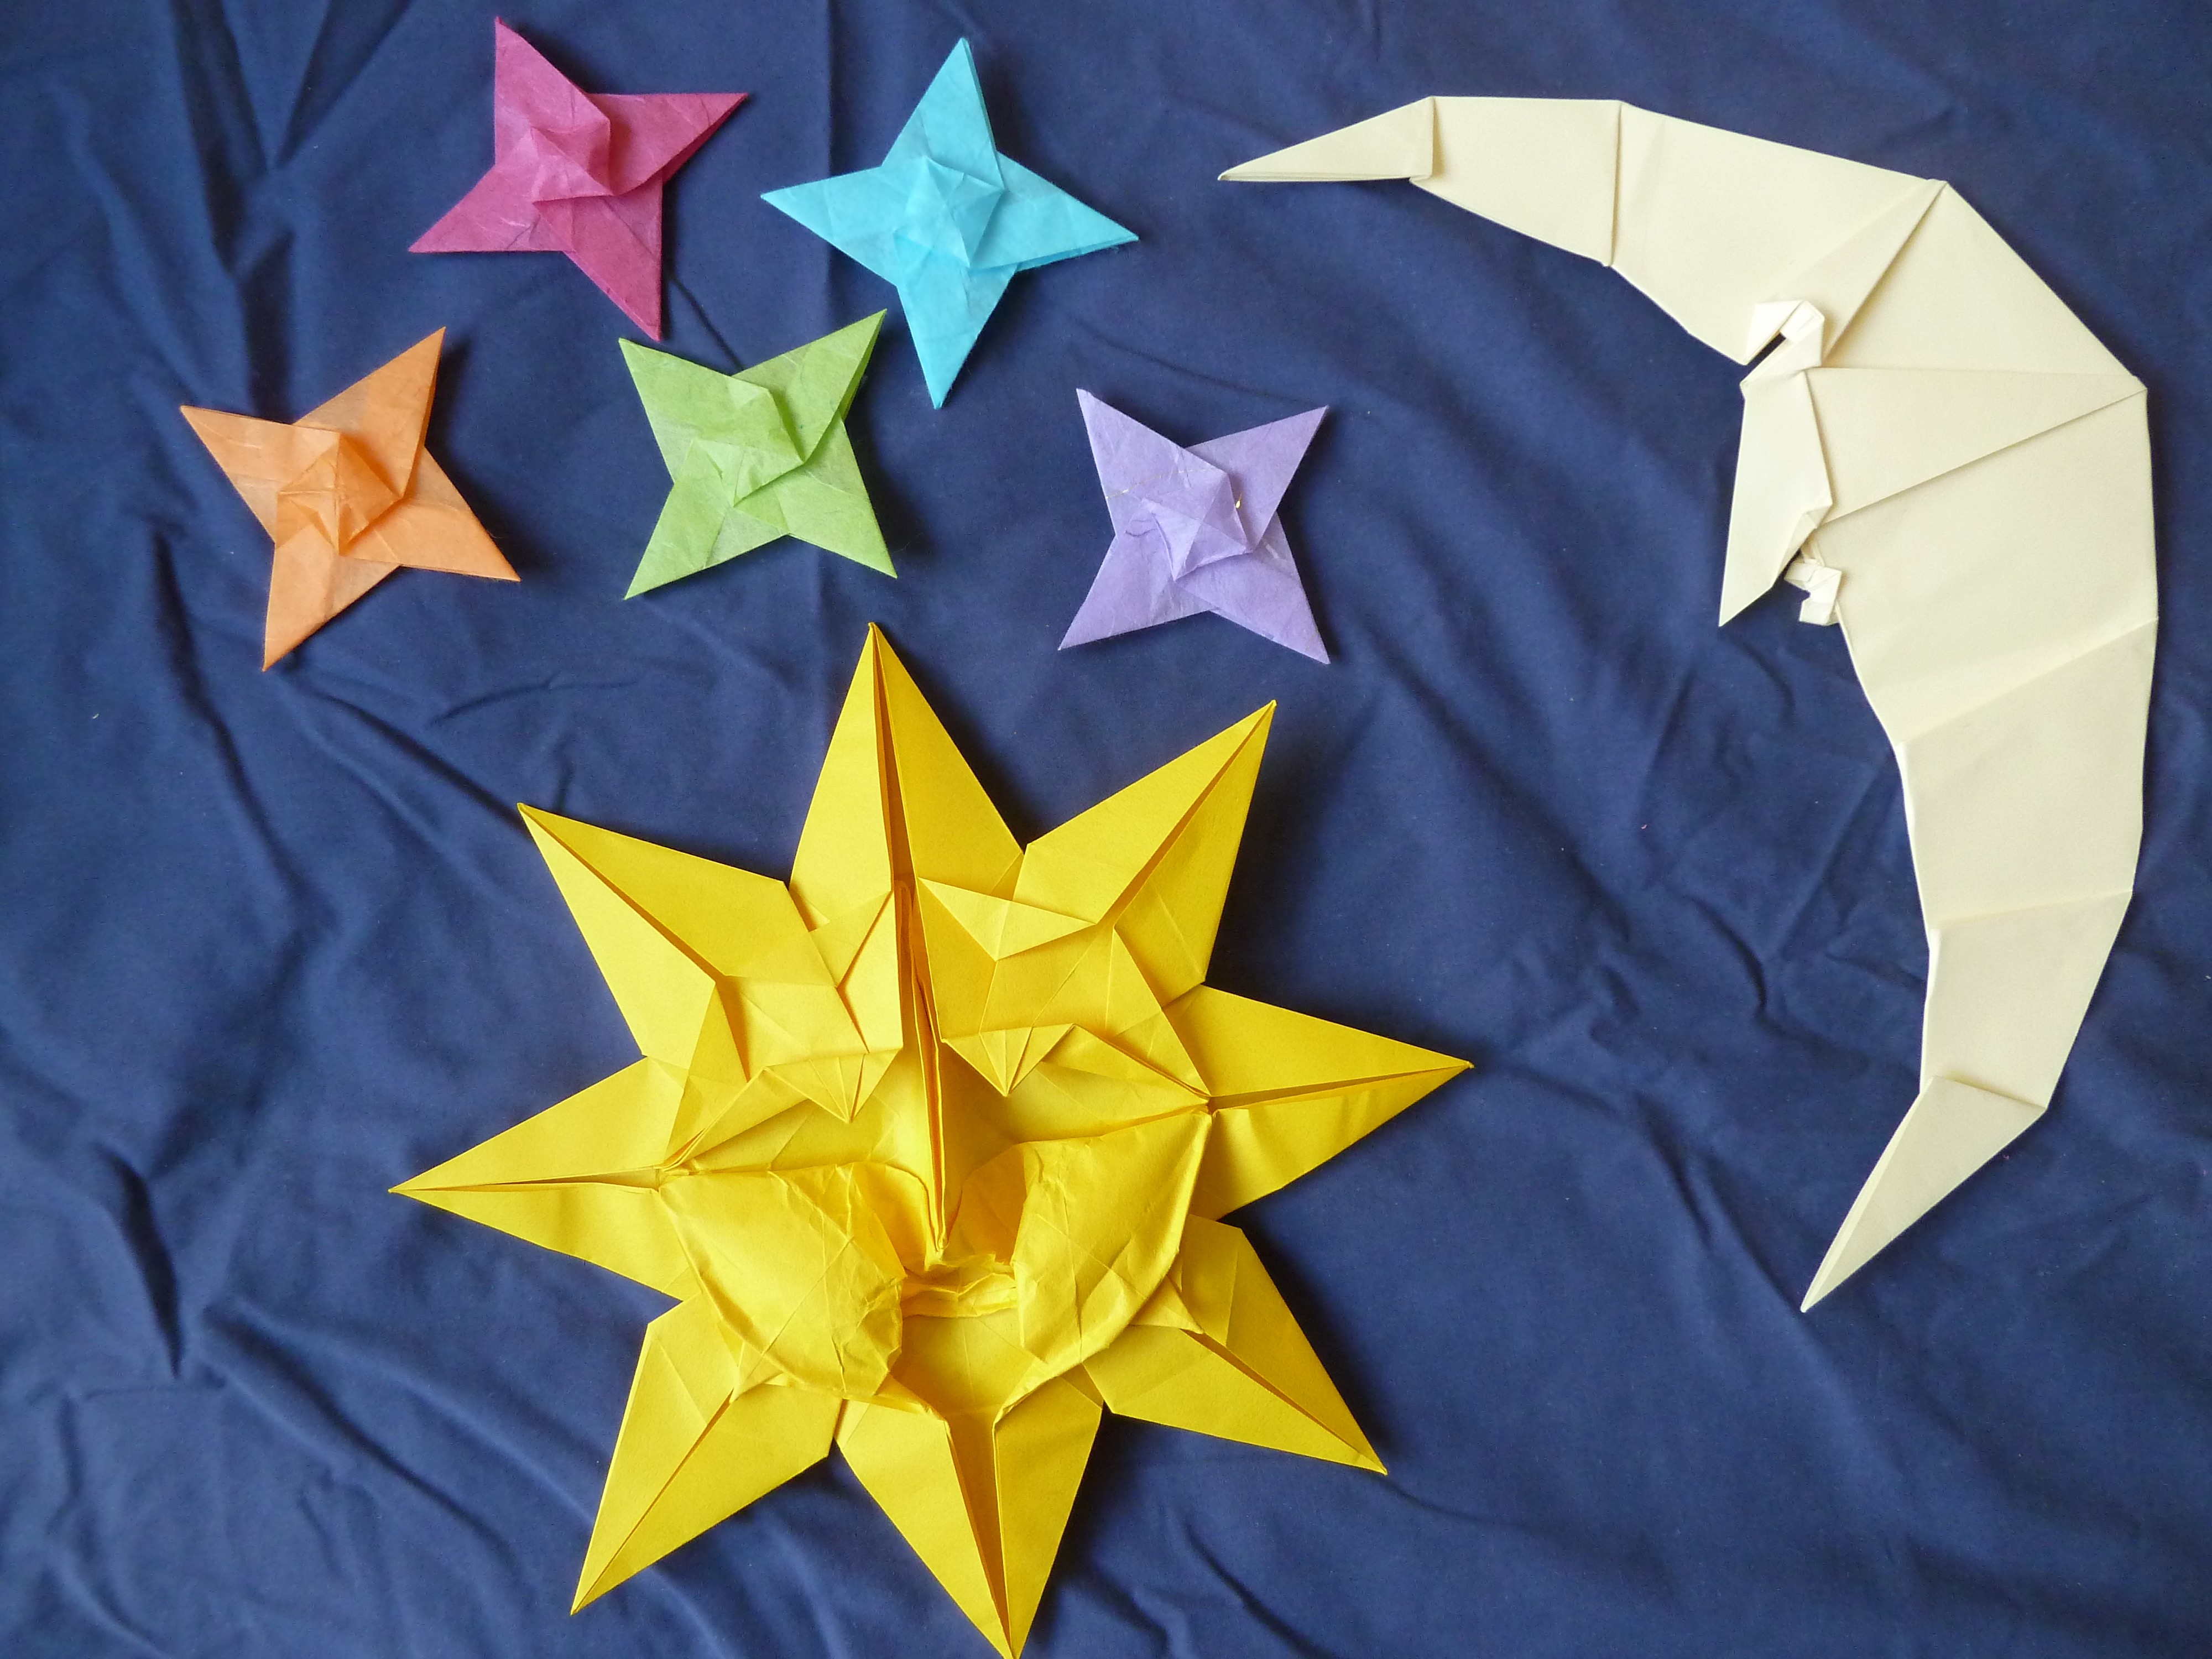
A while ago I captured a bit of the night sky into my constellation project! As you can see, I made a personification of the sun, the moon, and I made five stars to complement them. The sun was particularly satisfying to make, and it was quite advanced. From a normal eight pointed star, I sculpted the face. In order to make the nose, I had to turn a complicated mass of the paper inside out and shape it into a conical shape! I persuaded a layer of the paper to shift down, to put the nose in the correct place. The moon was much easier to fold, and the end result was just as stunning as the sun. It was made from a simple fish base.

Folded by Sophie Usherwood

Designed by Peter Engel

Penguins

I folded these penguins for the oncoming winter! I specifically chose a light gray for the baby penguin, and black for the mother and father. I like this design very much because the way the belly of the penguin and the angle of the arms makes the penguin look like it’s about to drop and slide over the ice!

Folded by Sophie Usherwood

Designed by Michael LaFosse

Alexander Swallowtail Butterflies

P1040230

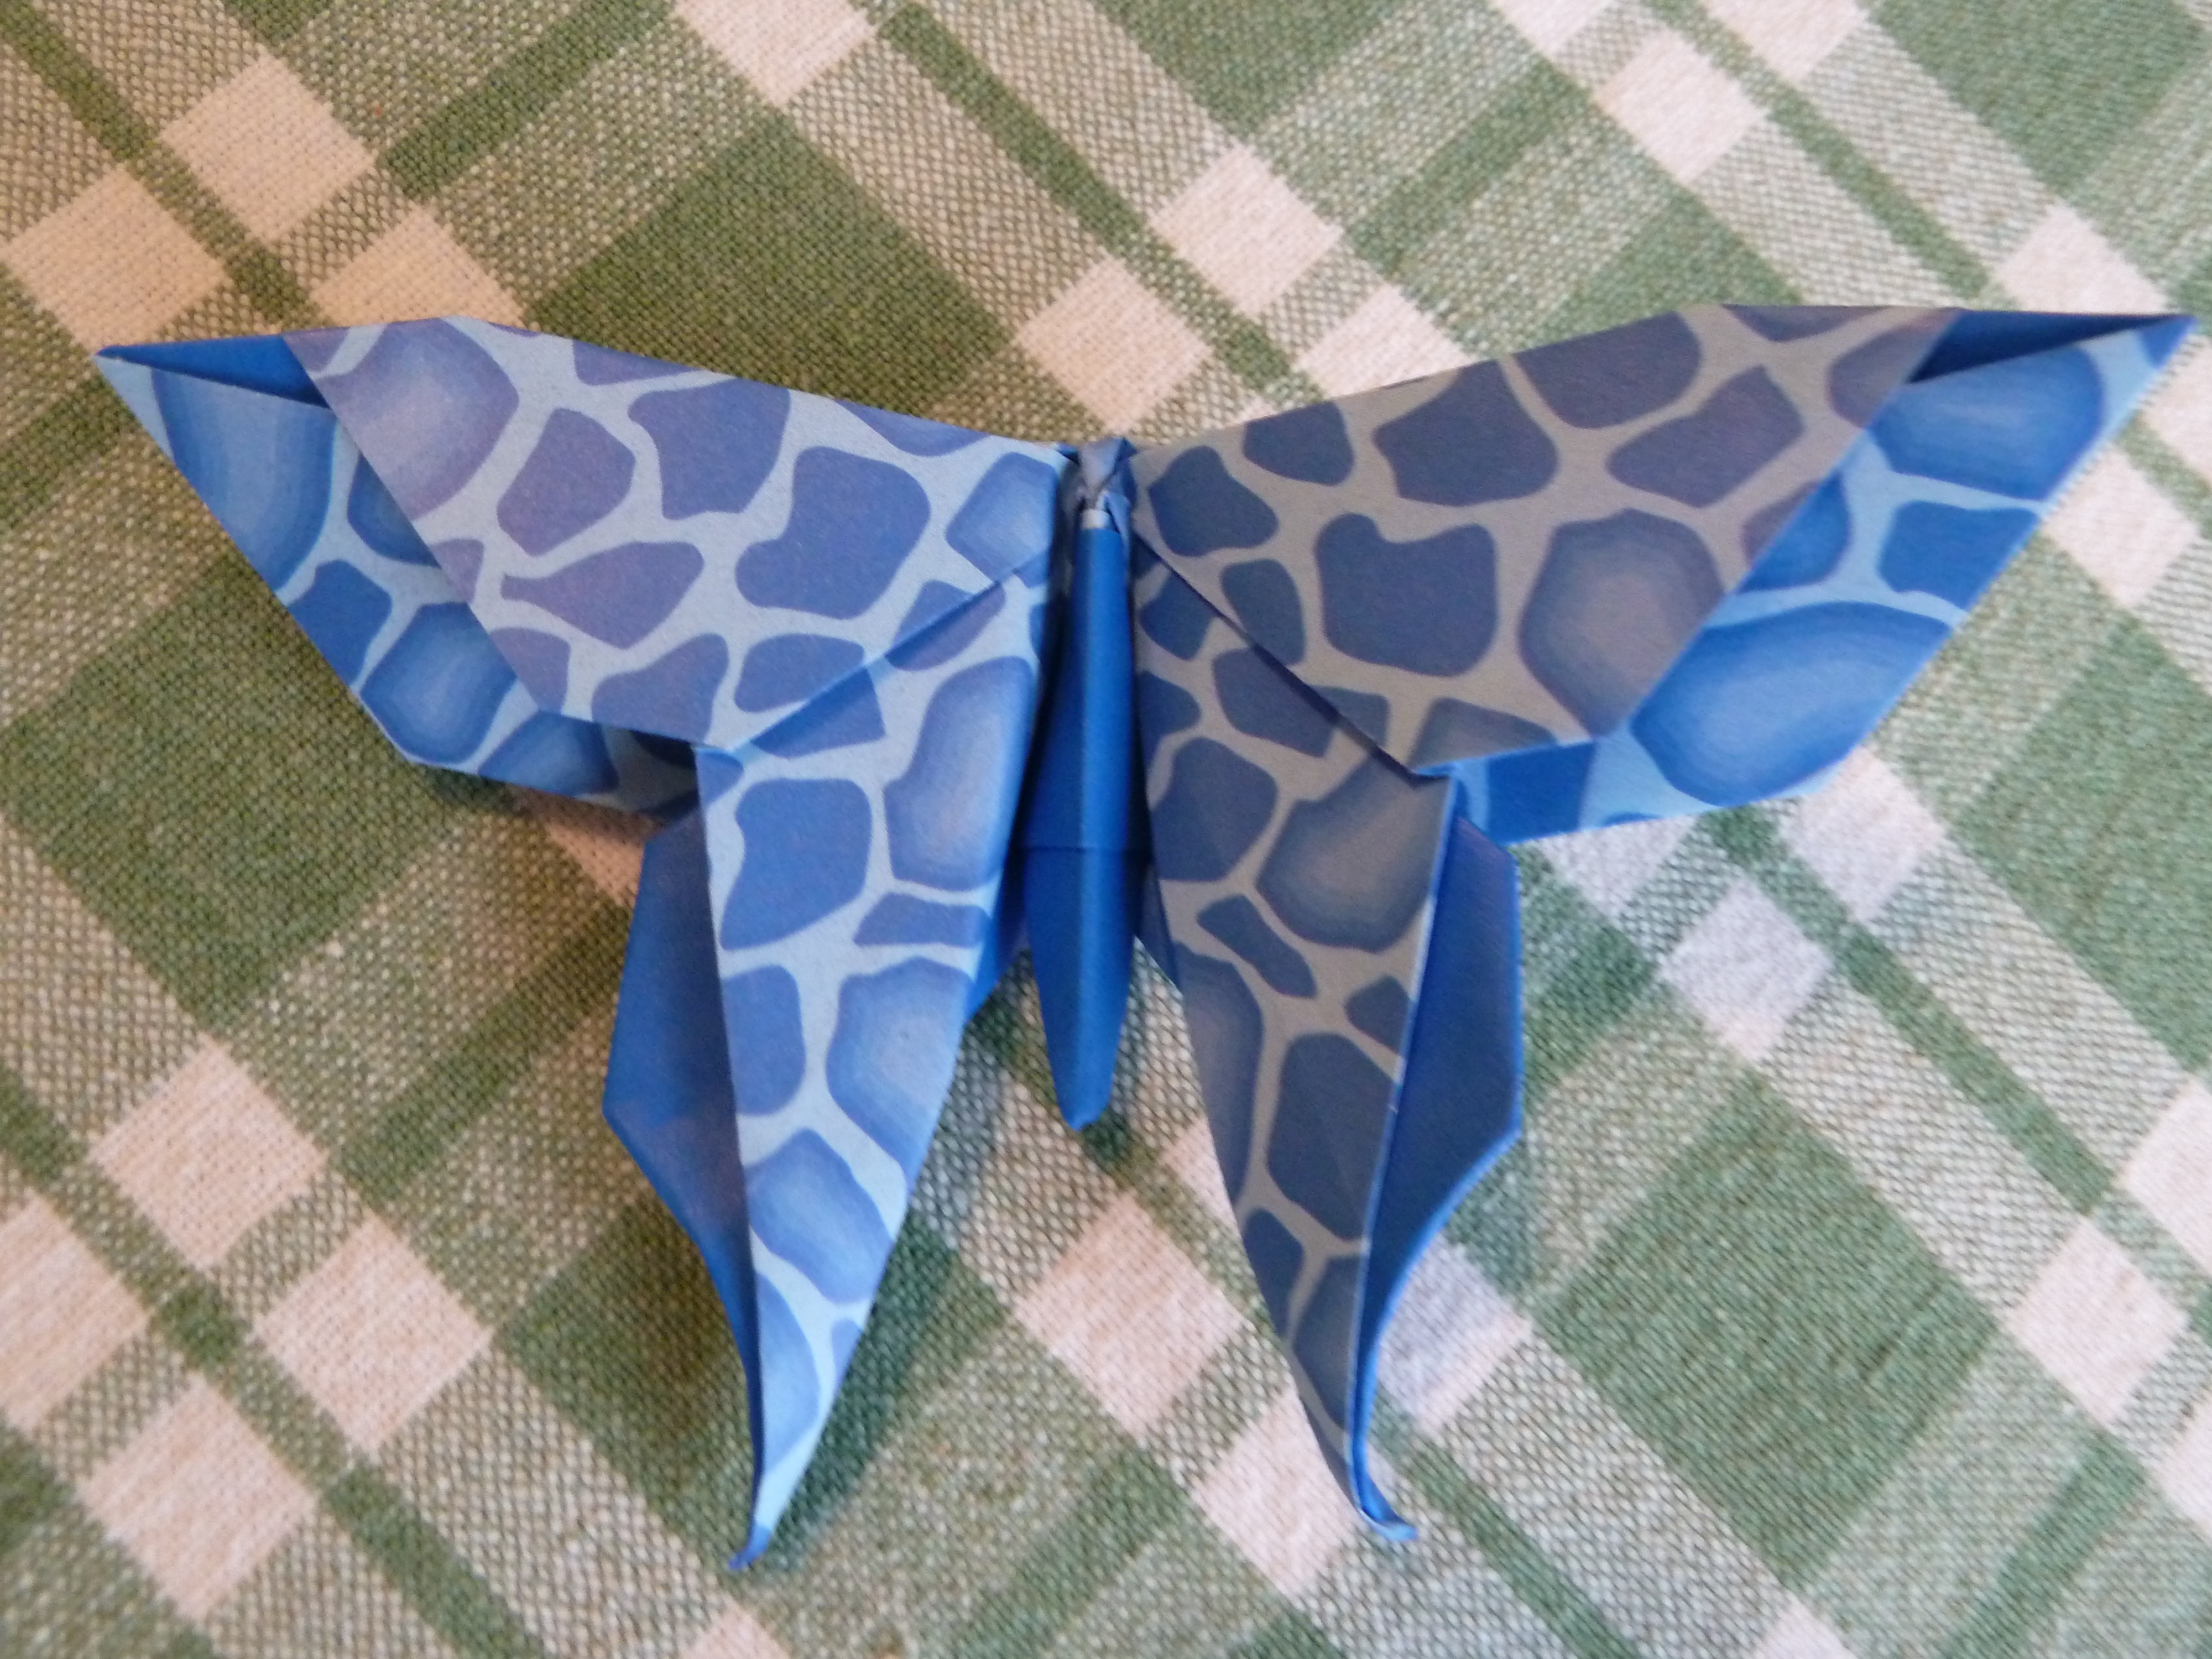
I had duo paper, patterned on one side and solid colored on the other, and I felt the urge to fold butterflies out of them! Here are the butterflies I folded. I was particularly intrigued by how the person who designed it used the squash fold at the beginning to make the large wings. I also curled the wings at the end for a graceful effect.

Folded by Sophie Usherwood

Designed by Michael LaFosse

Mini Library

A while ago, I enjoyed folded this adorable origami library. This is only one shelf – to see the rest of the mini library look at my “Library Display December 2016” post. The two smallest books on top of the bookshelf were a bit fiddly to make, and in the end their covers were about a quarter of a thumbnail large! The books in the bookshelves were slightly larger than a thumbnail. All of the books outside the bookshelf were folded from one piece of 2 by 1 paper, and all of the books inside the bookshelf were modular – the pages were folded from a 2 by 1 sheet of white paper, and the covers were a different piece of paper that locked into the white paper without glue. I adored how cute these books were!

Folded by Sophie Usherwood

Designed by Katrin and Yuri Shumakov

Rhombicuboctahedrons

When I was 10, my older brother had a project in his 8th grade math class to fold a rhombicuboctahedron. I decided I wanted to fold it too, so by myself I learned how to fold it, and aided him in constructing his too. The rhombicuboctahedron has eight triangular faces, eighteen square faces, and twenty four vertices. It has 24 identical modules that slide together.

It took a long time to fold all twenty four modules, but when I began to put it together it became a very exciting process. I began to see the overall shape of it emerge to match the pictures I had seen of it, and when I secured the final piece in, I felt very fulfilled.

The the pink-blue-purple one was the the one I folded by myself, and the yellow-orange-green one was the one that my brother and I folded.

Folded by Sophie and Thomas Usherwood